There are several ways to add custom CSS to your MetaSlider slideshow or to individual slides.
Option #1: Add CSS to your theme #
If it possible to add CSS to your theme. There are a variety of ways to do this. For example, many themes allow you to add CSS via the WordPress admin area:
- Go to Appearance > Editor and select “style.css” from the list of files on the right. This will load up the style.css file into the editor.
- At the bottom of the file, on a new line, paste in the custom CSS.
- Save the file.
- Remember to clear any WordPress cache plugins (W3 Total Cache, WP Super Cache etc), and clear your browser cache in order to see your changes.
Depending on your theme, you may also have a “Custom CSS” option. Take a look under the “Appearance” menu, or maybe in the Theme Settings. If you have this option then you can use it for MetaSlider CSS.
Option #2. Use a CSS plugin #
There are plugin that’s allow to safely add CSS to your site. One example is the Simple Custom CSS plugin. After installing this plugin, in your WordPress admin menu, go to Appearance > Edit CSS and paste in your custom CSS.
Option #3. Add CSS directly to a slideshow #
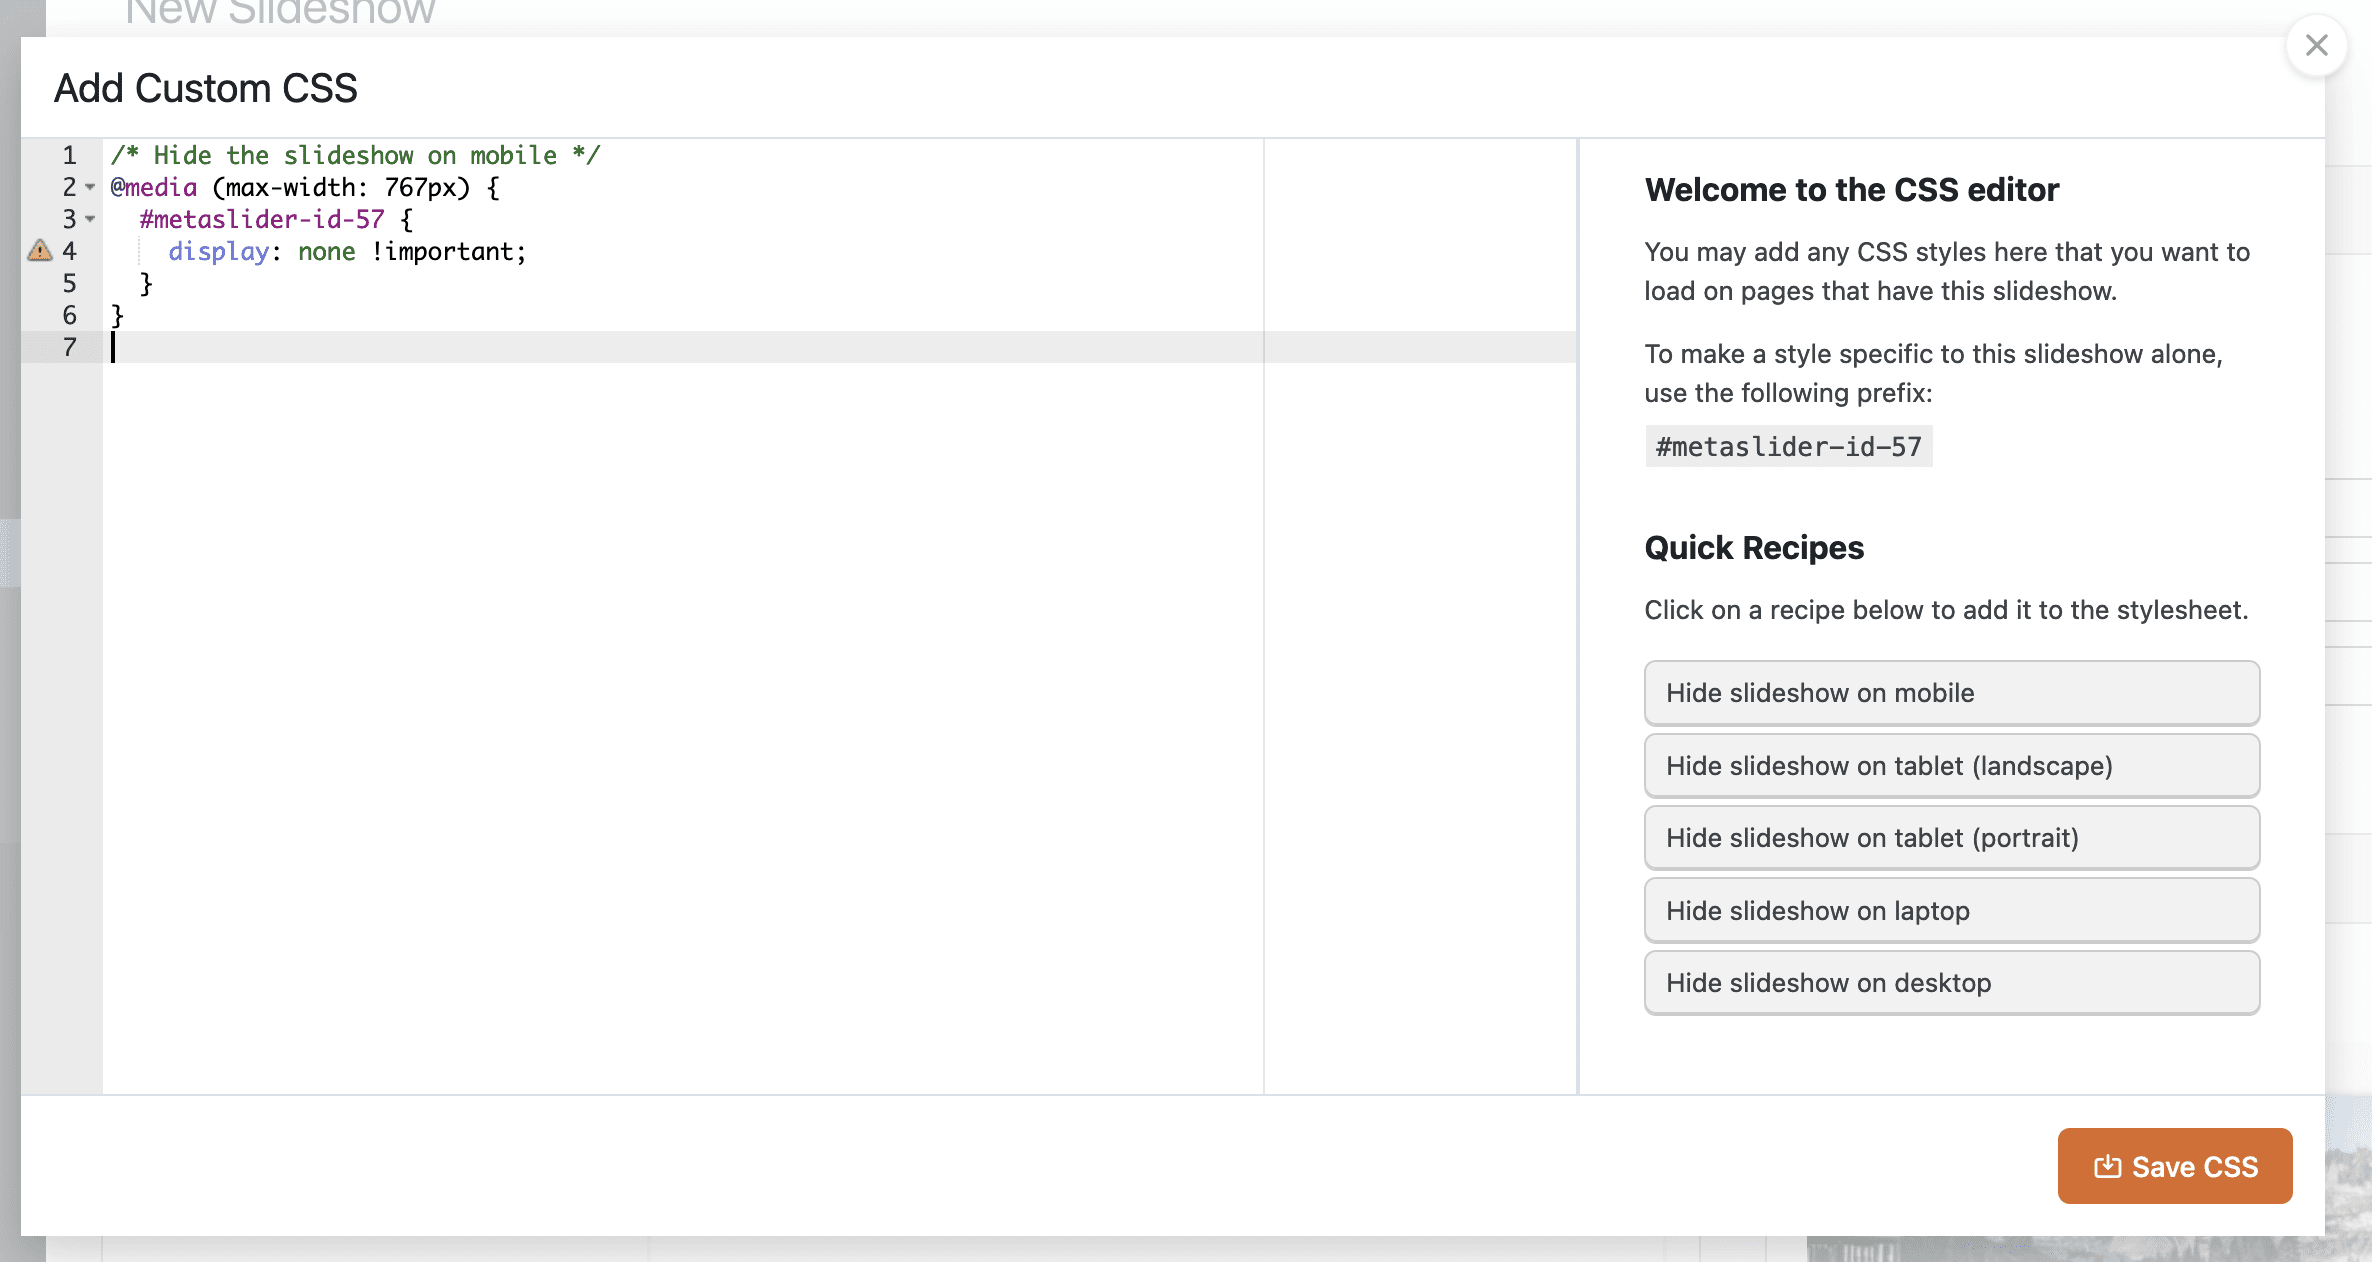
MetaSlider Pro offers an “Add CSS” button where you can add CSS directly to your slideshows.

You can use this window to add any CSS styles here that you want to load on pages that have this slideshow. One big advantage to this option is that the CSS will only load only on your site’s front-end when it is needed.
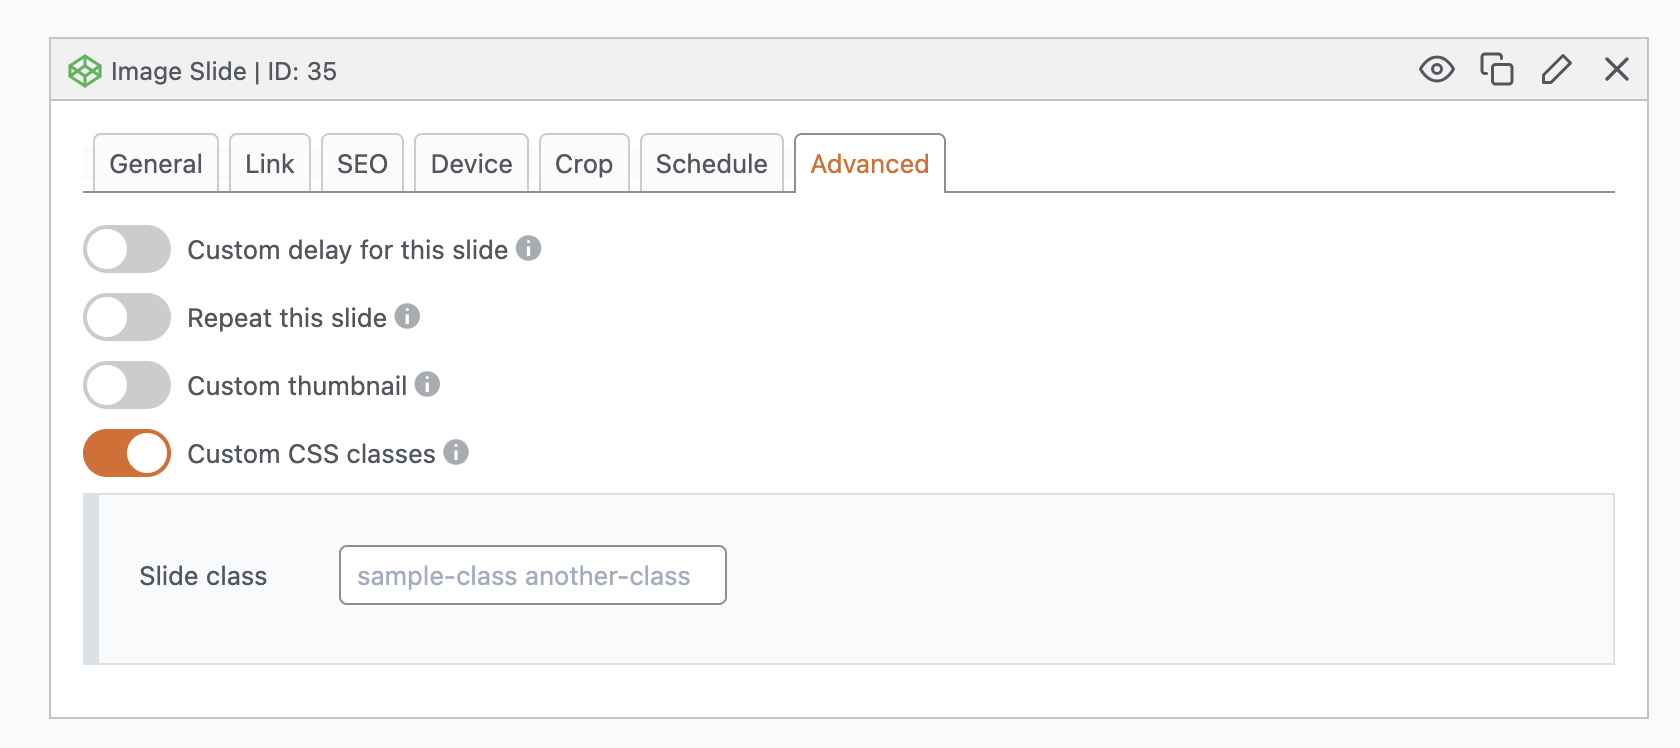
Option #4. Add CSS directly to an individual slide #
MetaSlider Pro also offers the option to add CSS classes directly to individual slides. Under the “Advanced” tab, look for the “Custom CSS classes” option.